|
|
|
| Prototyp : Model : Jaguar XJR-10 / 11 |
|
Process, Part Seven.
Introduction - 1 2 |
|
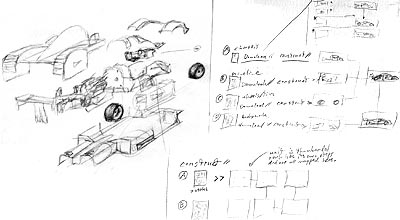
Until PROTOTYP models are created in 3-d software, either photographs or drawings of the building steps will be used. First a logical breakdown of the complete car is done to isolate the building process into sections. Portions of the car are to be treated as separate sub-assemblies with their own sets of instructions; the floorpan will be separate from the main chassis which will be separate from the engine and the bodywork. Each of these groups will be joined together as a final step into a completed model.
|
 |
|
Test sheets are printed and the model building procedure is photographed. Hundreds of photos have been taken throughout the build in order to capture the important steps. The photos may be used to 'trace' for exploded view illustrations or be used with some added building information. During this test building process, further modifications are made to parts for better assembly, simpler steps or better fitting. (Usually when too much explanation is necessary in order to build a part, it is time to simplify the part.) The next steps will be to finish the instructions and improvments to the model, photograph the built models, and prepare the sheets as PDF format for distribution. Part Eight: Final Check > > |
 |
| Introduction - 1 2 |